
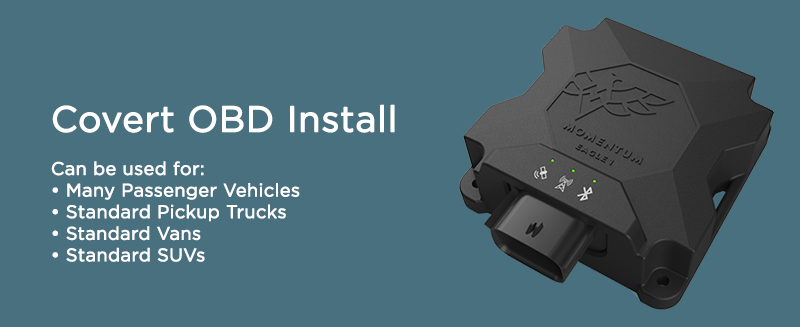
Overview of Covert Installation Steps
There are FIVE steps to complete on the covert installation:
- Remove the OBD Receptacle from its bracket.
- Tape the two connections with electrical tape.
- Connect the Eagle One to the OBD receptacle
- Secure Eagle One Device within the Vehicle driver-side front panel.
- Secure connected wiring & OBD Receptacle away from the driver’s legs.
Because vehicles have different cab structures & OBD receptacle housing, mounting the Eagle One device and connecting will differ from vehicle to vehicle.
Make sure to secure away from the driver’s legs and see that the device cannot shift/move when the vehicle is in motion.
Before You Begin
For covert installation, please read this entire document first.
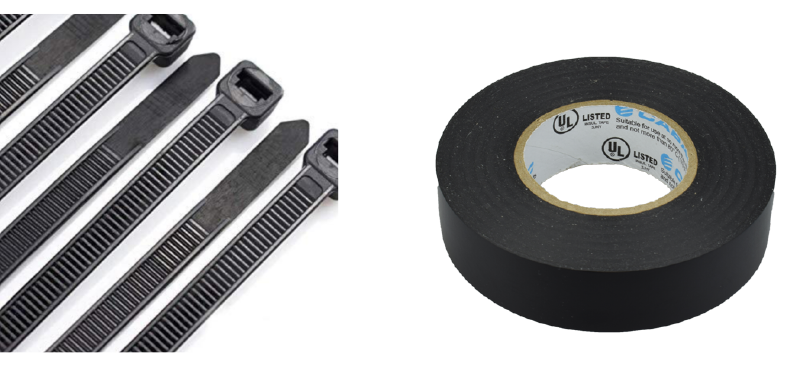
Ensure you have the Eagle 1 Device & the following list of tools for Trucks/Vehicles:
• A couple of 8” to 12” black zip ties
• Scissors/snips suitable to trim zip tie
• Hex wrench, socket set or small #8 or 9/32 wrench
• Security tape (suggested)
• For Trailers, you will need 4 self-tapping machine screws.
Overview of Covert Installation Steps
There are FIVE steps to complete on the covert installation:
- Remove the OBD Receptacle from its bracket.
- Tape the two connections with electrical tape.
- Connect the Eagle One to the OBD receptacle
- Secure Eagle One Device within the Vehicle driver-side front panel.
- Secure connected wiring & OBD Receptacle away from the driver’s legs.
Because vehicles have different cab structures & OBD receptacle housing, mounting the Eagle One device and connecting will differ from vehicle to vehicle.
Make sure to secure away from the driver’s legs and see that the device cannot shift/move when the vehicle is in motion.
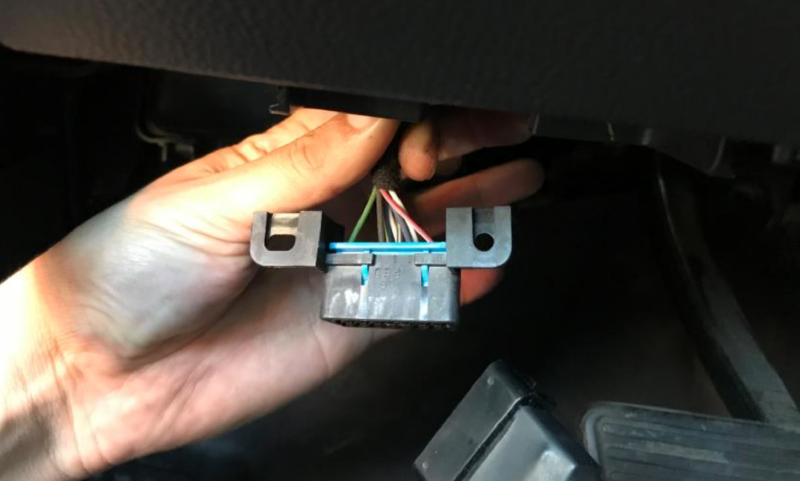
Finding the OBD Port
Locate the OBD port.
The OBD port will be below and slightly left of the steering column.
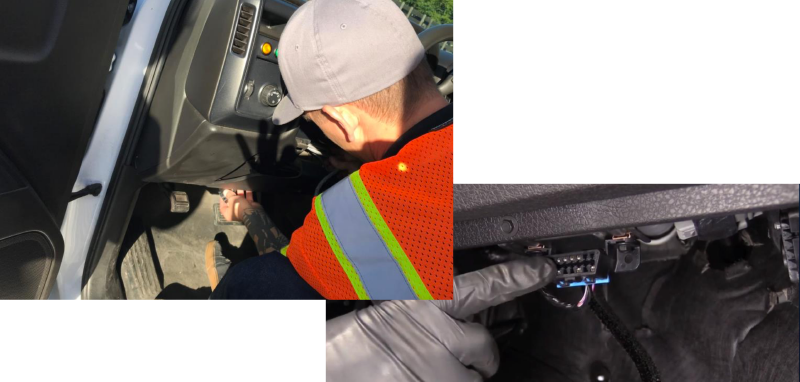
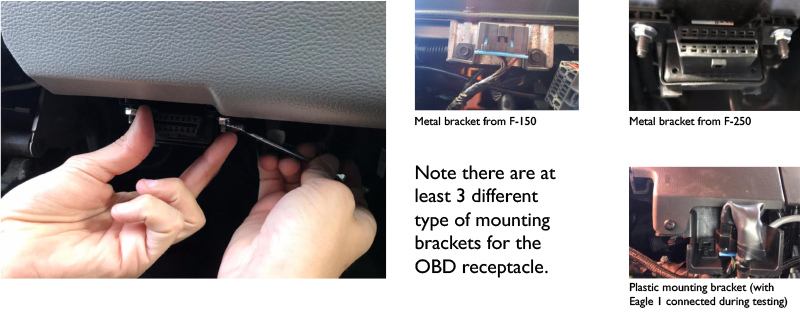
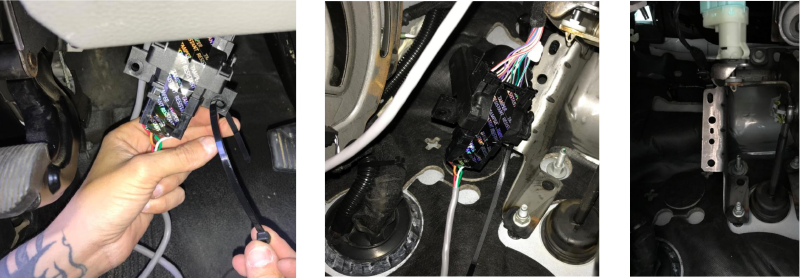
OBD Mounting Brackets
Remove the OBD receptacle using the appropriate tool (wrench, socket or hex wrench).
OBD Device Free of Bracket
After unscrewing, this is what you see.
The OBD receptacle should now hang loose from its bracket.
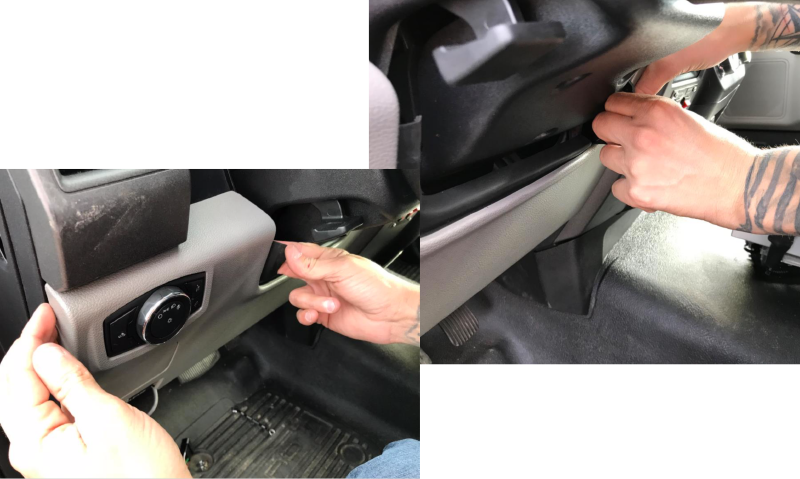
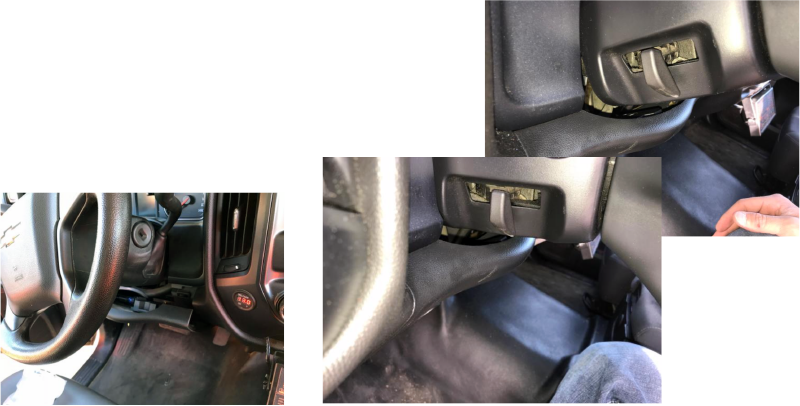
Open the front panel/Drivers Side
Carefully pull back on panel under the steering column to disengage the pins on panel from vehicle.
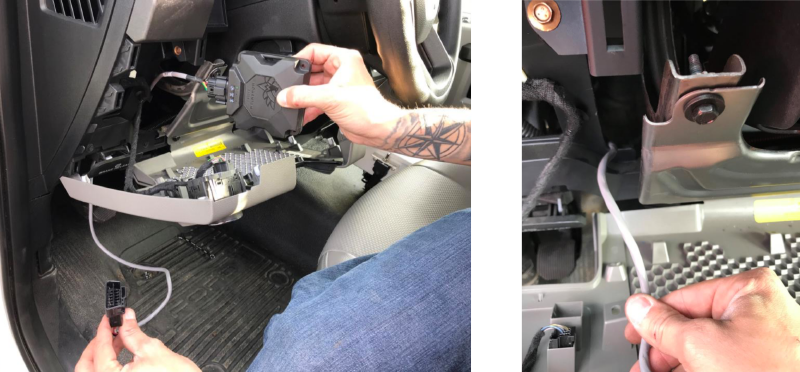
Eagle 1 Connection Cord
Carefully slide the Eagle 1 Device connection cable into the space between the front panel and the vehicle.
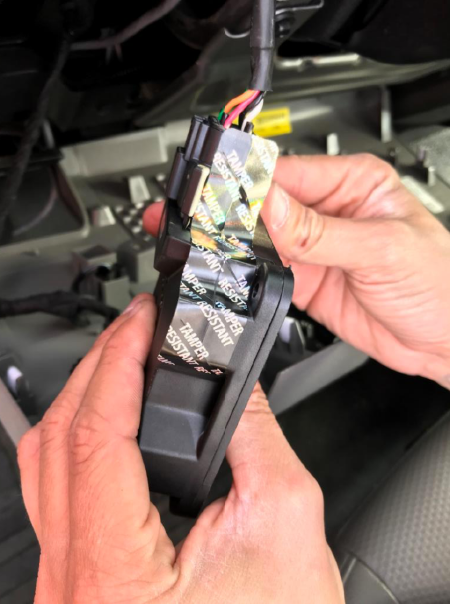
Electrical or “Do Not Tamper” Tape
Place electrical or “Do Not Tamper” tape on the connection of the Eagle1 Device, ensuring the tape covers both the device & the connector.
Nesting Eagle 1 into F-150/F-250 (Option 1)
If the volt regulator wiring allows, the Eagle 1 will fit nicely just above the Break Release handle.
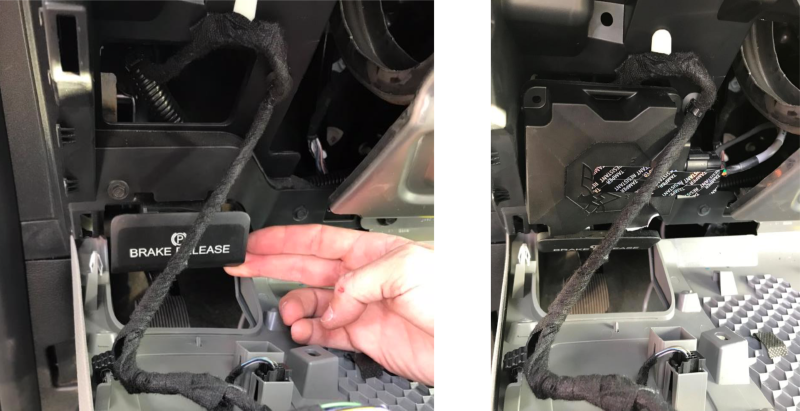
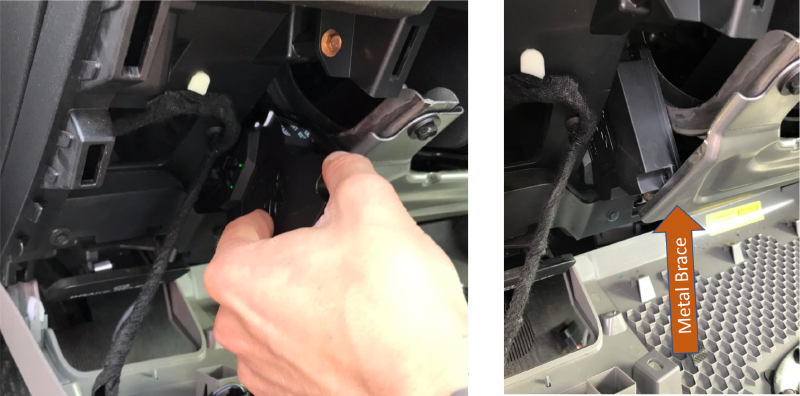
Nesting Eagle 1 into F-150/F-250 (Option 2)
If the volt regulator wiring does not allow placement as in Option 1, the Eagle 1 will fit vertically set behind the metal brace as shown.
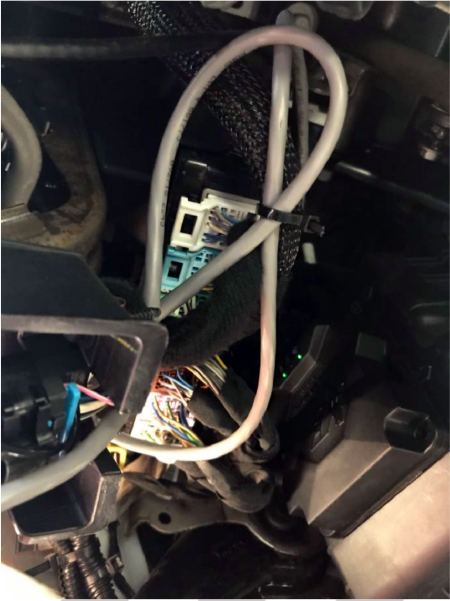
Nesting Eagle 1 into Chevy 1500
Chevrolet Silverado 1500s have a metal bar that sits just above the panel and can serve as the base for the Eagle 1 device. Zip-tie the device as shown (point the connection toward the engine).
Close Front Panel
Close the Front Panels by bending back the panel to reach the latch and push in.
Ensure that the Eagle 1 Device does not interfere with the steering column or any other mechanisms. If it does, reopen the panel and shift the device until it does not interfere.
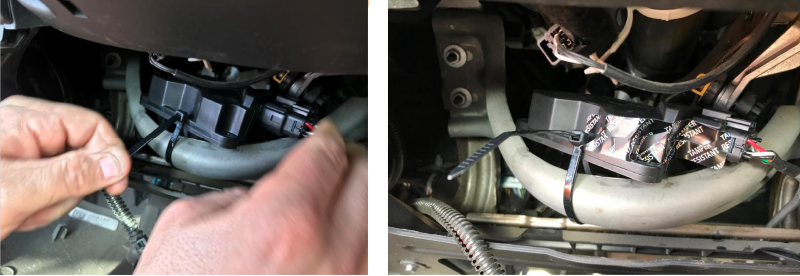
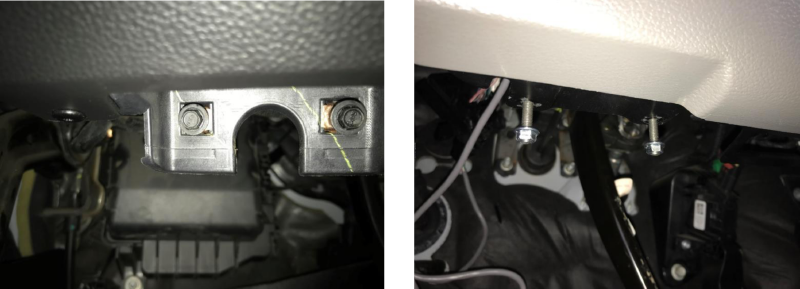
Strapping on OBD receptacle
Use zip ties to secure the OBD receptacle away from the driver’s legs to avoid ‘bumping it’ issues. You can secure available brackets or wiring behind driver's side panel.
Example Bracket used to secure OBD receptacle in Ford F-250 shown.
Secure excess wire from the device
Secure any excess wire under the panel to bracket or other electrical wires with a zip tie. Here's how it will look when done correctly.
Nested Eagle 1
Correctly placed, the Eagle 1 Device and cord should be virtually ‘invisible’ & inconspicuous to the driver and allow for the full range of motion from the driving column.
Completing the job
Replace and tighten any bolts or empty receptacles you removed earlier to the OBD receptacle mounting bracket.
The Eagle 1 Device installation in the vehicle is now complete.
Comments
0 comments
Article is closed for comments.