
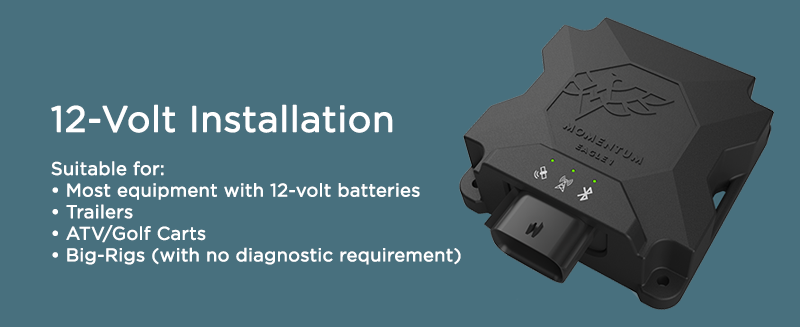
Installing the Eagle 1 on a trailer (1)
To install the Eagle 1 onto most light equipment, such as a trailer, you’ll have to connect the device to the trailer’s battery.
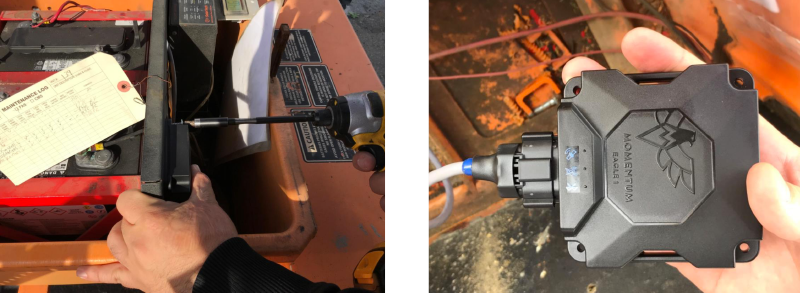
First, secure the device to the trailer using self-tapping screws through the 4 mounting holes, attach the device to the outside of the battery well, and string the cable through the hole in the metal dividing plate.
Installing the Eagle 1 on a trailer (2)
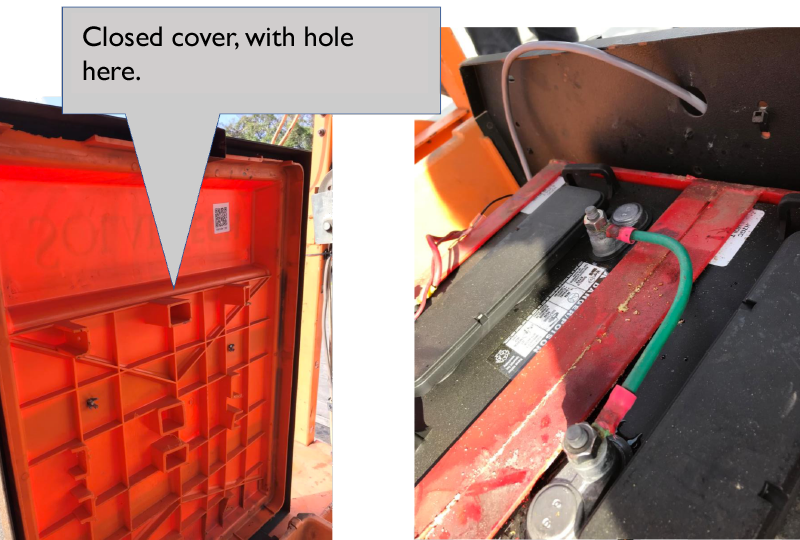
After stringing the cable through the metal plate take care that the closing of the cover does not pinch it.
Installing the Eagle 1 on a trailer (3)
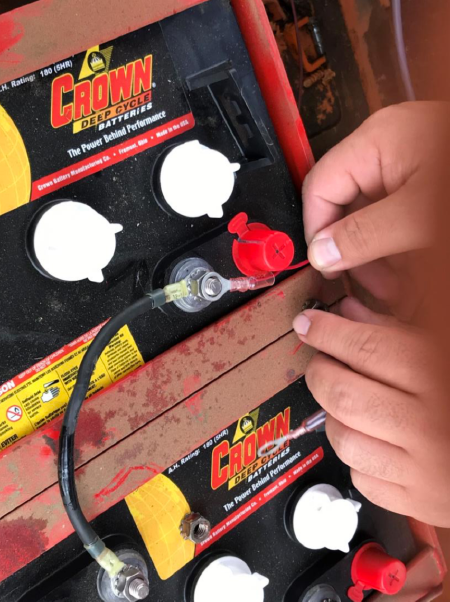
Connect the Eagle 1 to the battery terminals (outside is best to complete the cycle for the 12 volts).
Verify that the lights on the device are green and receiving power, then tighten. Double-check that the cables will not interfere with the closing of the cover.
Installation in a trailer is complete.
It may. You should remove the Eagle unit before your emissions test. If you are using our 12-volt harness connected to your vehicle battery, we suggest you uninstall the unit at least 48 hours before your test. Details vary depending on your vehicle's make and year, so check your instruction manual for more on battery disconnection and emissions testing.
Comments
0 comments
Article is closed for comments.